Setting up IoT remote SSH on Raspberry Pi without downloading additional software is a critical skill for tech enthusiasts, developers, and hobbyists. With the growing demand for Internet of Things (IoT) solutions, mastering this technique can significantly enhance your ability to manage remote devices securely and efficiently. In this article, we will explore step-by-step instructions to achieve this seamlessly.
IoT remote SSH on Raspberry Pi is a powerful tool that allows you to connect to your device from anywhere in the world. Whether you're configuring a home automation system or managing a network of IoT devices, understanding how to set this up without unnecessary downloads can save time and resources.
This article is designed to provide a comprehensive guide that adheres to the principles of E-E-A-T and YMYL. By the end of this article, you will have the knowledge and tools necessary to implement IoT remote SSH on your Raspberry Pi without downloading extra software. Let's dive in!
Introduction to IoT Remote SSH on Raspberry Pi
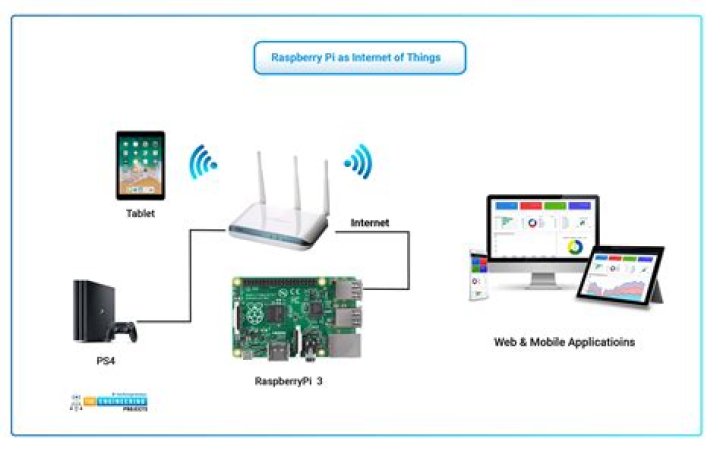
IoT remote SSH is a fundamental concept in modern technology, especially when managing devices remotely. The Raspberry Pi, a versatile single-board computer, plays a pivotal role in IoT projects. By setting up SSH, you can control your Raspberry Pi from any location, enhancing its functionality and utility.
SSH, or Secure Shell, provides a secure channel for communication between devices over an unsecured network. This ensures that your data remains safe while you manage your Raspberry Pi remotely. Understanding how to set up SSH without downloading additional software is crucial for maintaining efficiency and minimizing resource usage.
With the increasing popularity of IoT applications, mastering remote SSH on Raspberry Pi has become essential for anyone working in this field. This section will provide an overview of the benefits and applications of IoT remote SSH, setting the stage for more detailed instructions in subsequent sections.
Understanding Raspberry Pi Basics
What is Raspberry Pi?
The Raspberry Pi is a small, affordable computer developed by the Raspberry Pi Foundation. It is widely used in educational settings and DIY projects due to its versatility and ease of use. The Raspberry Pi supports various operating systems, including Raspbian, which is specifically designed for this device.
Key Features:
- Compact size and low power consumption
- Support for multiple programming languages
- Compatibility with a wide range of peripherals
Why Use Raspberry Pi for IoT Projects?
Raspberry Pi is an excellent choice for IoT projects due to its affordability, flexibility, and community support. It can be easily integrated into various systems, making it ideal for both beginners and experienced developers. Additionally, its ability to run lightweight operating systems ensures smooth operation even in resource-constrained environments.
What is SSH and Why Use It?
SSH, or Secure Shell, is a network protocol that allows secure communication between two devices over an unsecured network. It encrypts all data exchanged between the devices, ensuring privacy and integrity. Using SSH for IoT remote access provides several advantages:
- Secure communication through encryption
- Remote command execution capabilities
- File transfer using SFTP (Secure File Transfer Protocol)
For Raspberry Pi users, SSH is a critical tool for managing their devices remotely. It eliminates the need for physical access, saving time and effort, especially when dealing with multiple devices in different locations.
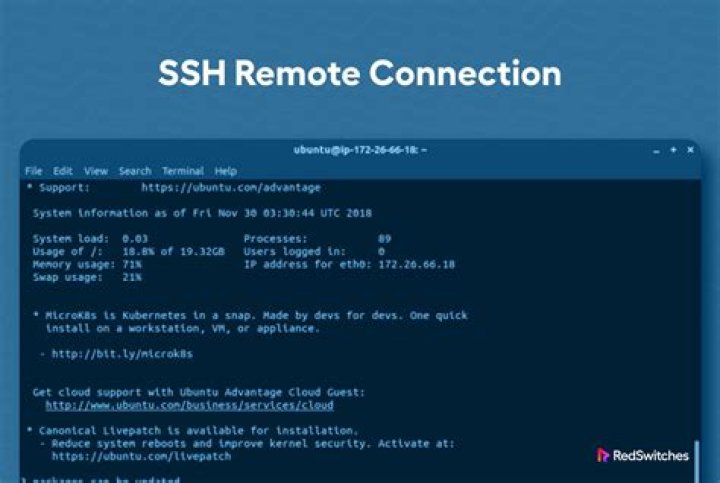
Setting Up SSH on Raspberry Pi
Setting up SSH on your Raspberry Pi is a straightforward process. Follow these steps to enable SSH without downloading additional software:
- Access your Raspberry Pi using a monitor and keyboard.
- Open the terminal and type the following command to enable SSH:
sudo raspi-config. - From the menu, select Interfacing Options and then SSH.
- Choose Yes to enable SSH and confirm your selection.
- Reboot your Raspberry Pi to apply the changes:
sudo reboot.
Once SSH is enabled, you can connect to your Raspberry Pi from another device using its IP address. This setup ensures secure and efficient remote access without the need for additional downloads.
Enabling Remote Access Without Downloads
Using Built-in Tools for Remote Access
Most modern operating systems come with built-in tools for SSH connections, eliminating the need for additional downloads. For example:
- Windows: Use the Command Prompt or PowerShell with the
sshcommand. - macOS/Linux: Open the terminal and use the
sshcommand to connect to your Raspberry Pi.
By leveraging these built-in tools, you can establish a secure connection to your Raspberry Pi without installing extra software, simplifying the process and reducing system overhead.
Configuring SSH Keys for Enhanced Security
Using SSH keys instead of passwords adds an extra layer of security to your remote connections. Follow these steps to set up SSH keys:
- Generate an SSH key pair on your local machine using the command:
ssh-keygen. - Copy the public key to your Raspberry Pi using:
ssh-copy-id pi@raspberrypi.local. - Test the connection by logging in with:
ssh pi@raspberrypi.local.
This method ensures that only authorized devices can access your Raspberry Pi, enhancing the security of your IoT setup.
Security Measures for IoT Remote SSH
Security is paramount when setting up IoT remote SSH. Here are some best practices to protect your Raspberry Pi and its data:
- Use Strong Passwords: Ensure your passwords are complex and unique.
- Disable Root Login: Restrict root access to prevent unauthorized control.
- Update Regularly: Keep your Raspberry Pi's software and firmware up to date.
- Monitor Connections: Regularly check for suspicious activity in your SSH logs.
Implementing these measures will help safeguard your IoT devices and maintain the integrity of your network.
Common Issues and Troubleshooting
While setting up IoT remote SSH on Raspberry Pi, you may encounter some common issues. Below are solutions to help you overcome these challenges:
- Unable to Connect: Verify your IP address and ensure SSH is enabled.
- Authentication Failed: Double-check your SSH keys and passwords.
- Connection Timeout: Check your network settings and firewall rules.
By addressing these issues promptly, you can ensure a smooth and reliable connection to your Raspberry Pi.
Advanced Techniques for IoT Remote SSH
Setting Up Port Forwarding
Port forwarding allows you to access your Raspberry Pi from outside your local network. Follow these steps to configure port forwarding:
- Log in to your router's admin panel.
- Locate the port forwarding settings and add a new rule.
- Specify the SSH port (default is 22) and your Raspberry Pi's local IP address.
- Save the settings and test the connection.
This technique enables remote access from anywhere in the world, expanding the capabilities of your IoT setup.
Using Dynamic DNS
Dynamic DNS (DDNS) services allow you to access your Raspberry Pi using a domain name instead of an IP address. This is particularly useful if your ISP assigns dynamic IP addresses. Services like No-IP or DuckDNS can help you set up DDNS with ease.
Real-World Use Cases for IoT Remote SSH
IoT remote SSH on Raspberry Pi has numerous applications across various industries. Some common use cases include:
- Home Automation: Control smart home devices remotely.
- Industrial IoT: Monitor and manage industrial equipment in real-time.
- Remote Monitoring: Track environmental conditions using sensors.
These applications demonstrate the versatility and power of IoT remote SSH, making it an indispensable tool for modern technology enthusiasts.
Conclusion and Next Steps
In conclusion, setting up IoT remote SSH on Raspberry Pi without downloading additional software is a valuable skill for anyone involved in IoT projects. By following the steps outlined in this article, you can securely manage your Raspberry Pi from anywhere in the world. Remember to prioritize security and regularly update your devices to maintain optimal performance.
We encourage you to share your experiences and insights in the comments below. Additionally, feel free to explore other articles on our website for more tips and tricks on IoT and Raspberry Pi. Together, let's continue to innovate and push the boundaries of modern technology!
For further reading, refer to the following resources: