SSH Raspberry Pi IoT from anywhere has become a crucial aspect of modern technology, allowing users to manage and interact with their devices remotely. Whether you're a tech enthusiast, a hobbyist, or a professional developer, understanding how to set up SSH on a Raspberry Pi for IoT projects is essential. This guide will walk you through the process of setting up SSH on your Raspberry Pi, enabling remote access from any location, and downloading the necessary tools for free on Windows.
In an increasingly connected world, the Internet of Things (IoT) is revolutionizing the way we interact with technology. Devices like the Raspberry Pi have become central to this evolution, providing a cost-effective and versatile platform for building IoT projects. However, managing these devices remotely can be challenging without the right tools and knowledge.
This article is designed to provide a comprehensive guide for setting up SSH on your Raspberry Pi, enabling you to control it from anywhere. We'll cover everything from the basics of SSH to advanced configurations, ensuring you have the tools and knowledge to make the most of your Raspberry Pi IoT setup.
Introduction to SSH
SSH, or Secure Shell, is a network protocol that provides secure communication between devices over an unsecured network. It is widely used for remote command-line login and execution, allowing users to manage servers, devices, and systems from anywhere.
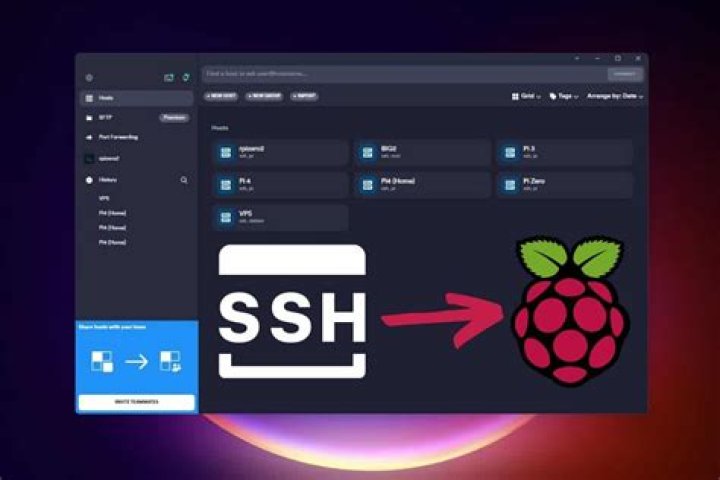
SSH Raspberry Pi IoT is particularly useful for managing IoT devices like the Raspberry Pi. By enabling SSH, you can connect to your Raspberry Pi from any location, making it easier to monitor and control your IoT projects.
Some key benefits of using SSH include:
- Secure communication through encryption
- Remote access to devices
- Command-line interface for efficient management
- Support for file transfer through SCP or SFTP
Raspberry Pi Overview
The Raspberry Pi is a compact, affordable single-board computer that has become a favorite among hobbyists and professionals alike. Its versatility and ease of use make it ideal for a wide range of applications, from home automation to industrial IoT projects.
Key Features of Raspberry Pi
- Small form factor
- Low power consumption
- Support for multiple operating systems
- Extensive community support
With the right setup, the Raspberry Pi can be used to create powerful IoT solutions that can be managed remotely using SSH.
SSH Setup on Raspberry Pi
Setting up SSH on your Raspberry Pi is a straightforward process. Follow these steps to enable SSH on your device:
- Install the latest version of Raspberry Pi OS on your Raspberry Pi.
- Connect your Raspberry Pi to a monitor, keyboard, and mouse.
- Power on your Raspberry Pi and log in.
- Open the Raspberry Pi Configuration tool by typing "sudo raspi-config" in the terminal.
- Select "Interfacing Options" and enable SSH.
- Reboot your Raspberry Pi to apply the changes.
Once SSH is enabled, you can connect to your Raspberry Pi remotely using its IP address.
Connecting Remotely from Windows
Connecting to your Raspberry Pi from a Windows machine requires a few additional steps. Here's how you can do it:
Using PuTTY for SSH
PuTTY is a popular SSH client for Windows that allows you to connect to your Raspberry Pi remotely.
- Download and install PuTTY from the official website.
- Open PuTTY and enter your Raspberry Pi's IP address in the "Host Name" field.
- Select "SSH" as the connection type.
- Click "Open" to establish the connection.
- Log in using your Raspberry Pi's username and password.
With PuTTY, you can easily manage your Raspberry Pi from any Windows machine.
IoT Applications with SSH
SSH Raspberry Pi IoT applications are endless. Here are a few examples of how SSH can be used in IoT projects:
- Home Automation: Control smart home devices remotely using SSH.
- Environmental Monitoring: Collect and analyze data from sensors using SSH.
- Remote Server Management: Manage IoT servers and devices from anywhere.
- Industrial Automation: Monitor and control industrial processes using SSH.
By leveraging SSH, you can create powerful IoT solutions that enhance productivity and efficiency.
Tools and Software
Several tools and software are available to facilitate SSH Raspberry Pi IoT projects. Here are some of the most popular options:
- PuTTY: A free SSH client for Windows.
- WinSCP: A secure file transfer client for Windows.
- OpenSSH: A free SSH client and server for Linux and Windows.
- Visual Studio Code: A powerful code editor with SSH support.
These tools can help streamline your workflow and make managing your IoT projects easier.
Security Best Practices
When using SSH Raspberry Pi IoT, security should always be a top priority. Here are some best practices to keep your devices secure:
- Use strong, unique passwords for your Raspberry Pi.
- Enable two-factor authentication for added security.
- Limit SSH access to specific IP addresses.
- Keep your Raspberry Pi OS and software up to date.
By following these best practices, you can protect your devices from unauthorized access and potential threats.
Troubleshooting Common Issues
Here are some common issues you may encounter when setting up SSH Raspberry Pi IoT and how to resolve them:
- Connection Refused: Ensure SSH is enabled on your Raspberry Pi and verify the IP address.
- Authentication Failed: Check your username and password and ensure they are correct.
- Timeout Errors: Ensure your network connection is stable and try reconnecting.
If you encounter any issues, refer to the official Raspberry Pi documentation or seek help from the Raspberry Pi community.
Advanced Configurations
For advanced users, there are several configurations that can enhance your SSH Raspberry Pi IoT setup:
Setting Up a Static IP Address
A static IP address ensures that your Raspberry Pi always has the same address, making it easier to connect remotely.
- Open the terminal on your Raspberry Pi.
- Edit the dhcpcd.conf file using the command "sudo nano /etc/dhcpcd.conf".
- Add the following lines to set a static IP address:
interface eth0
static ip_address=192.168.1.100/24
static routers=192.168.1.1
static domain_name_servers=192.168.1.1
Save and exit the file, then reboot your Raspberry Pi.
Conclusion
In conclusion, SSH Raspberry Pi IoT from anywhere download free windows is a powerful tool for managing and interacting with your IoT devices. By following the steps outlined in this guide, you can set up SSH on your Raspberry Pi and connect to it remotely from any location.
Remember to prioritize security and best practices to protect your devices from potential threats. With the right tools and knowledge, you can create innovative IoT solutions that enhance your productivity and efficiency.
We invite you to share your thoughts and experiences in the comments section below. Don't forget to explore our other articles for more tips and tricks on IoT and technology.